Welcome to 365 Days Of Cricut and the MY THANKSGIVING BLESSINGS Blog Hop! If you've come from visiting Susan at
Its me Susan P, you're in the right place!
If you've just happened across my blog and would like to play along with our fun hop, you can go to INKING IT UP CRAZY and start at the beginning. Go to
Inking it Up Crazy.
The theme of this blog hop is MY THANKSGIVING BLESSINGS. Each blog has created a project centered around the blessings they have had this past year. Be sure to visit each blog for inspiration and fun BLOG CANDY.
***Warning Picture Heavy***
I decided to make 1st EVER mini album for our hop, I am going to put up to 8 pics of my son and I, I am going to put pics of us and our pumpkins pre-carved since this is not a Halloween album, Thanksgiving pics, Thanksgiving food pics Yum! Also, I will take a pic of us in our front yard next to our tree once the leaves turn red. I named my album "Autumn Blessings" I have been wanting to make a mini for years but I have been so chicken to make one, I don't know why I just thought they were very intimidating, then about 6 weeks ago I saw all of these 4x4 inch Coaster sets on clearance at Michael's for only .20 cents! I thought I can do it, so I did. I am extremely happy with the end result, I love it so much I can't stop looking at it, and of course my 3 year old son loves it, he thinks it's his and he keeps saying "Wow" "Wow' "Wow"! I love him so much he is my #1 fan! I cheated on my Cricut and did this entire mini WITHOUT MY CRICUT!! I know I feel so Guilty LOL!!
Page 1: I stamped 2 images and I embossed one with gold embossing powder, the flowers are Recollections and Primas, the leaf is from the jewlery section at Michaels, the small yellow butterfly charm is a cell phone charm that I bought from ebay. "Autumn" is a brad. "Blessings" is a metal embellishment from Michael's I added pearls to it.
Lots and Lots of ribbon, just the way I invisioned my 1st mini! I know it may seem messy, but I love it so much and I am obsessed with ribbon, so I got to use a lot of my stash!
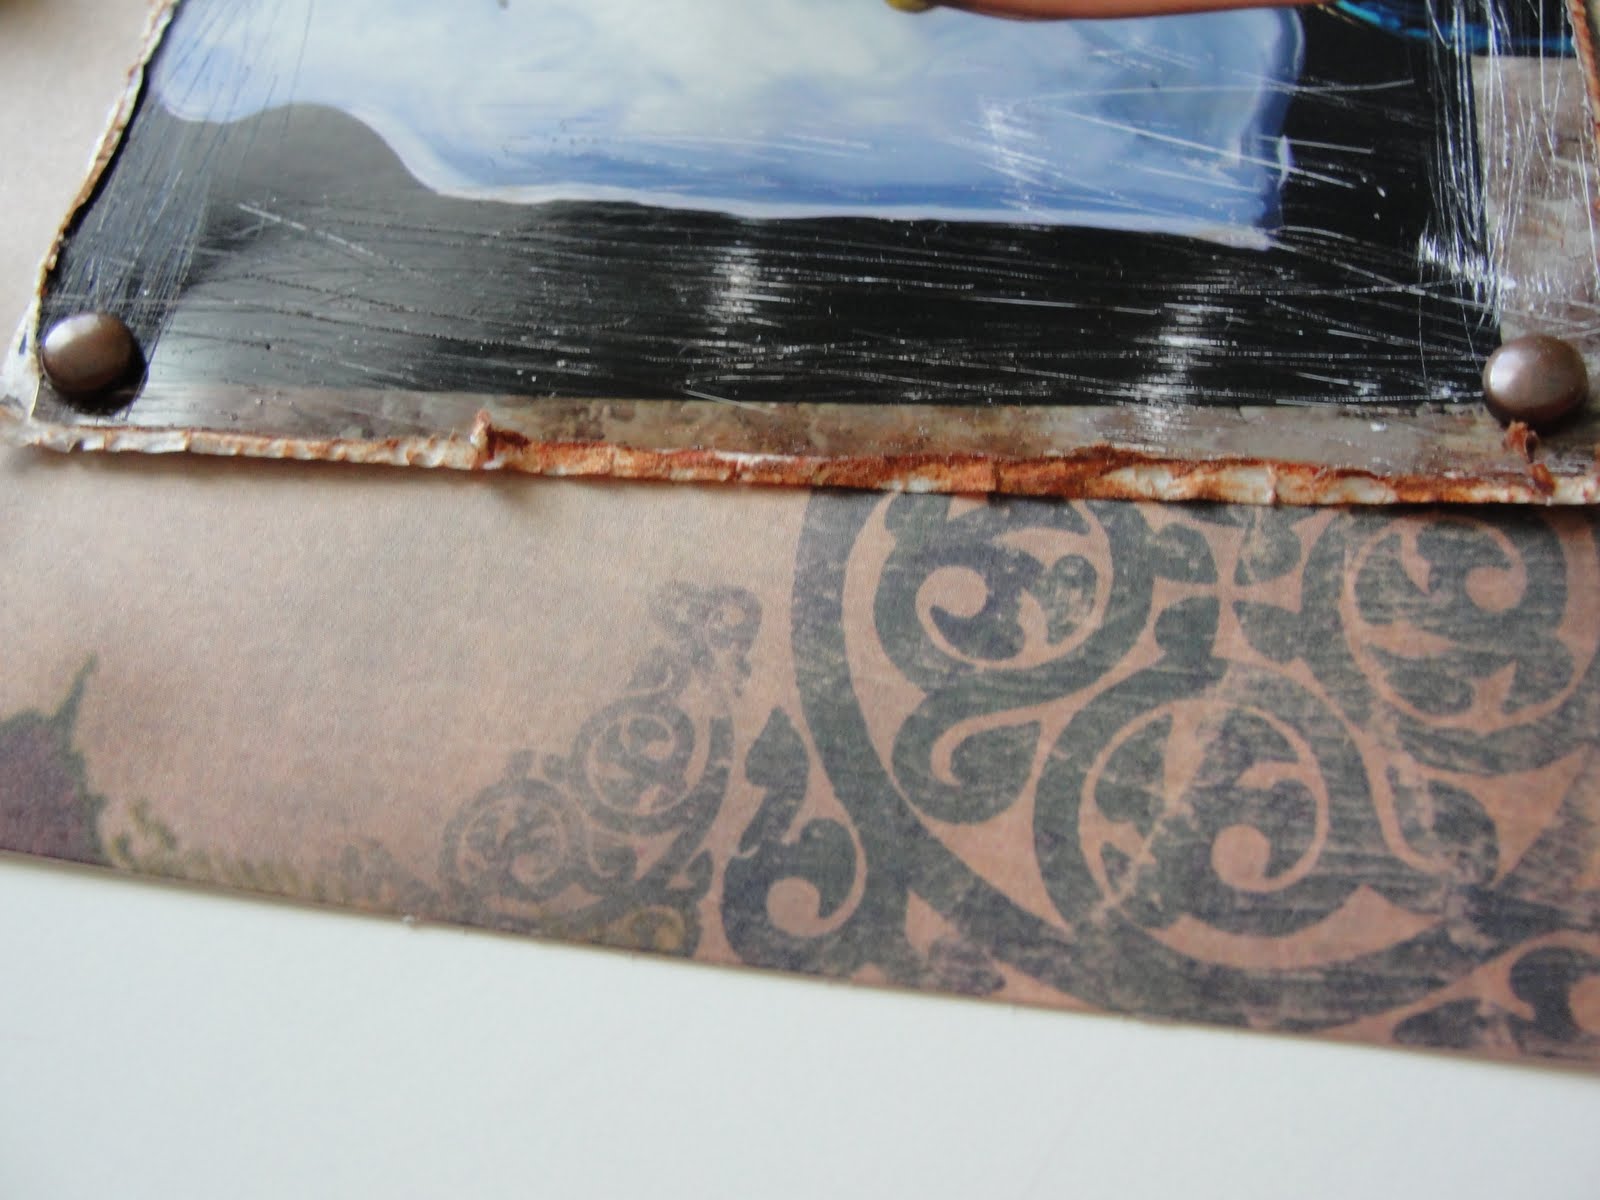
On every page I used my Zutter Distrezz it all to destress the sides and I inked all of the edges with Walnut Stain and Frayed Burlap Distress ink. Love them!
I thought this view was just stunning! You can see the top page and also my distress work.
Page 2 and 3: Left side I put cute scarecrow ribbon and Glimmer Mist. Right side glimmer mist, cut paisley shape from patterned paper, flowers, sticker and pearls....oooh la la I love pearls and all things girly!
Page 4 and 5: Left page I stamped mesh background stamp, put red yard on the side, cut the scarecrow from my paper stack adhered to cereal box to make a tag, added a flower eyelet with my Crop a dile. Right side put a sticker and something from a fake flower bouqet from the $1 store
Continuing....Left side I sprayed the flower w/ Glimmer mist added a very large gem, stamped the leaf and added ink to my tag.
Page 6 and 7: Left side sprayed 2 colors of Glimmer Mist and added a Sticker. Right side Did some stampinkg, added ribbon and plenty of turkey and leaf stickers, also added a flower and brad. I made that leaf charm.
Close up of my handmade charm. It's a Tim Holtz tag/charm from Michael's added twine, cut the leaf from patt. paper and glued together with Glossy Accents.
Page 8 and 9: I didn't do too much here because i wanted to put a large pic on the left side. I just added a flower, pearl and ribbon. The Turkey paper was in my paper stack.
Page 10 and 11: Left side sprayed with 3 colors of Glimmer mist (my only3), the border with the leaves and acorns are a piece of ribbon. Right side is just stickers. For this page I plan on puttig a pic of our Thanksgiving meal.

Page 12 and 13: Left side is a pumpkin ribbon, plan on putting our pic here with out pumpkins, Right side is a silk flower also from the $1 store inked it up, added a cloth thype brad, pumpkin sticker, journaling tag, ribbon and another embellishment that I made with a cereal box. I just put paper that says "Pick Your Own Pumpkin" inked it and on the back put pumpkin stickers...see below
Here's my embellishmet and plus you can see the pretty ribbon and the pretty leaf paper.
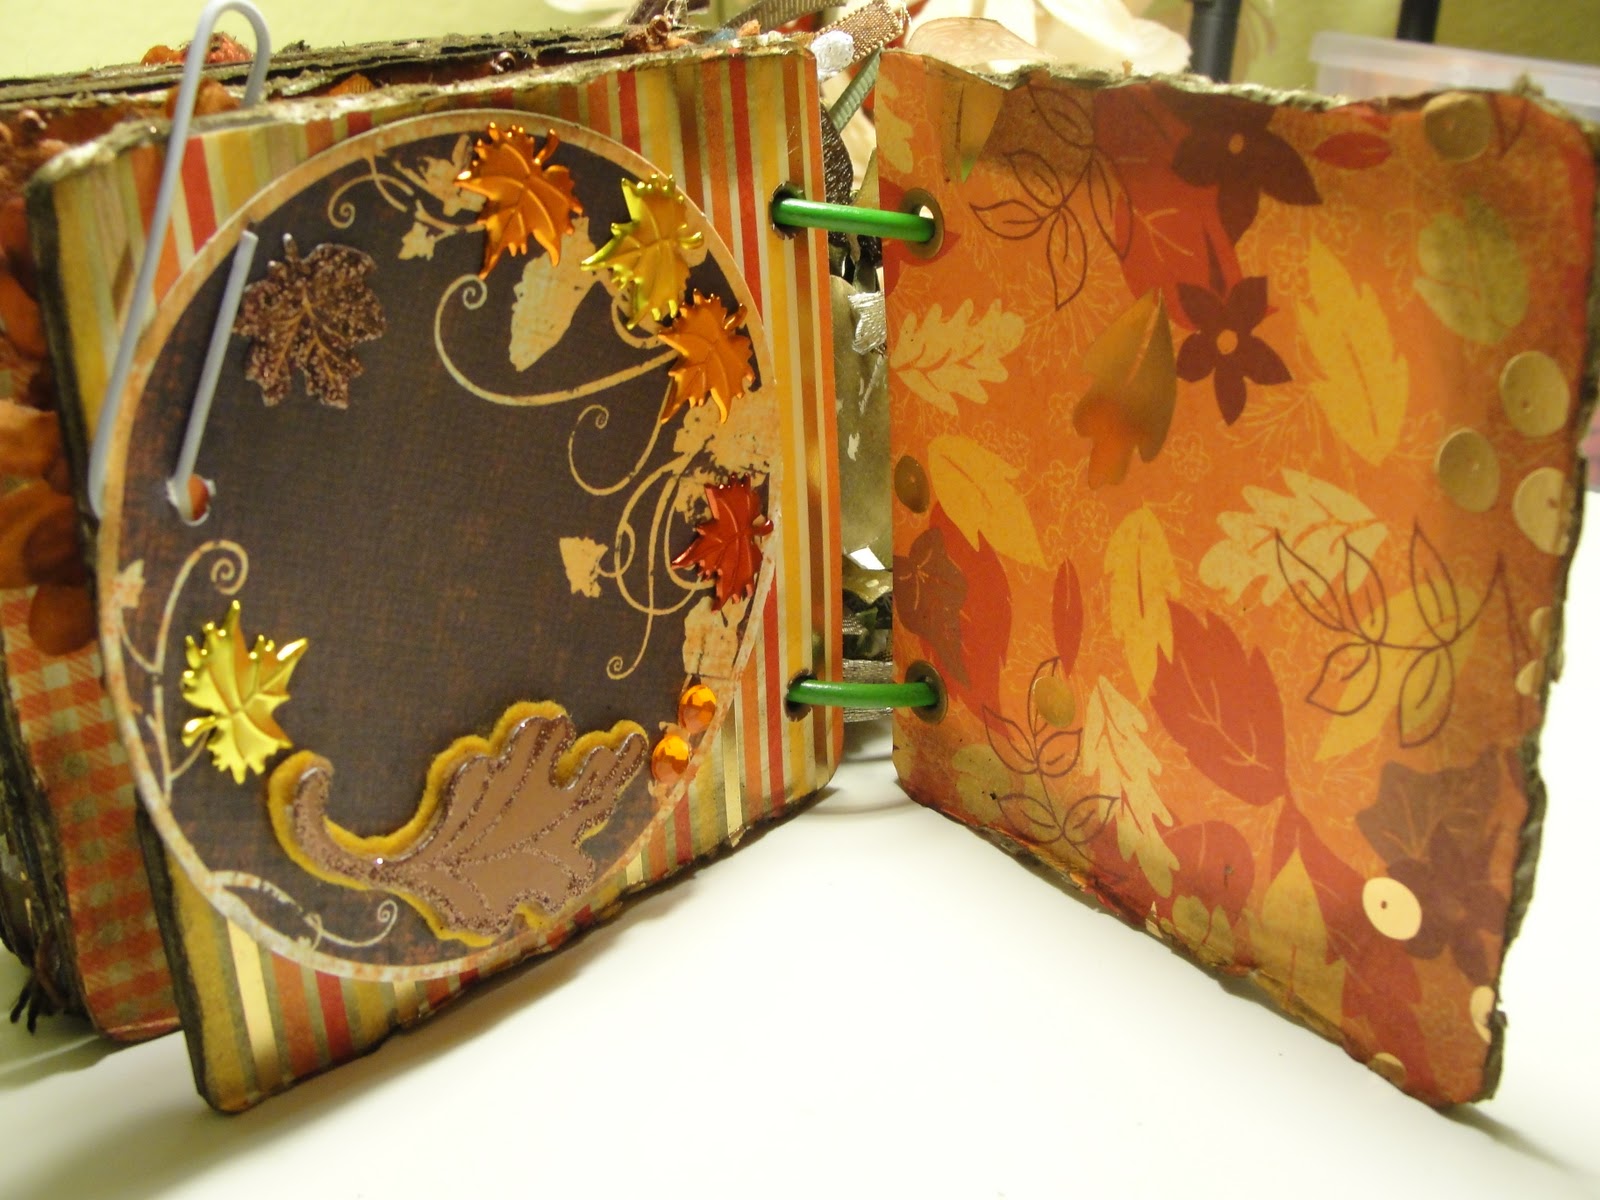
Page 14 and 15: Left side added a paper clip, a circle punch out shape from my Mind's eye (I bought at a LSS) it's a sheet of paper with die cut punch outs. I put 2 leaf stickers, bling and leaf brads which I love. I plan on doing my journaling on the circle. Right side I left plain so i can put a pic.
Here's what it looks like when you swivel it open. I can add a bonus pic here behind the circle.
Page 16 last page: This was also an easy page just cut it out from my patt. paper stack ready to go! I also did more inking here. and you can also see wha the ribbons look like from the back side.
BLOG CANDY!!! Yep, I decided to make a mini album kit for one lucky winner!! I tried to give you everything that I used to make the mini, but some items I did not have duplicates of. You will recieve one 8 piece THICK chipboard coaster set, 2 large binder rings, pretty paper from the Autum Splendor Stack (Michael's), so much ribbon for you, brads, flowers, all the charms I used. If you win and you decided to make this mini I would love to see your version of my mini, have fun creating!
Theresa-
http://www.juicycricutcards.blogspot.com/
Jenny-
http://www.crazyaboutcricut.blogspot.com/
Celeste-
http://www.ccscards.blogspot.com/
Raven-
http://www.love4stamps.blogspot.com/
Rebecca-
http://www.creationswithbecka.blogspot.com/
Debbie-
http://www.craftydeb-ddscrafts.blogspot.com/
Sherri-
http://www.sherrisspace.blogspot.com/
Susan-
http://www.itsmesusanp.blogspot.com/
Sandra-
http://www.365daysofcricut.blogspot.com/ ---You Are Here---
Kathy-
http://www.kathyand3kids.blogspot.com/
I guess I am not the only one who is obsessed with my Cuttlebug! My dog Boots was just passed out asleep laying there in my Cuttlebug drawer, yep I have a 12x12 drawer full of embossing folders! I highly recommend Cuttlebug folders to be a dog pillow LOL! Too funny!
To win this awesome mini album KIT that I have created for you to make all you have to do is leave me a comment here and tell me what you have caught your dog/cat doing in your creative space! You do not need to be a follower, but I do really love all of my current and all new followers are welcome here! Please like me on Facebook so we can stay connected there also! I will choose a random winner on Monday November 22nd. Have a great time hoping now on to
Kathy.






.JPG)


