
Happy Friday everyone! If you are a friend on Facebook then you've probably seen this flowers that I made today. Here is my deatailed tutorial for them enjoy!

Step 1,2- Cut 8 Scallop circle shapes for each color at 2.53 in. with Gypsy. The flower is on the top left part of your Gypsy keypad Shift/Shadow key functions. I got 12 flowers total on one 8.5x11 inch white cardstock. To make all 6 flowers I needed 3 total sheets of white cardstock. Ink around the edges.

Step 3- Spray all flowers with water and rub the water all over the flower, you want it to be very damp.

Step 4- Crumble like trash!

Step 5- Uncrumble and lay flat.

Step 6- Stack all 8 flowers on top of eachother.

Step 7- Punch a hole with Crop A Dile, I punched all 8 at the same time

Step 8- Place any color brad in center, you won't actually see the brad in the end.

Step 9-Crumble each flower layer upwards around the brad.

Step 10- After crumbling all layers upwards around brad it should look like this, then "Smoosh" it all together in your hands to look like this.

Step 11- Spray with Glimmer Mist, Let dry for 5 Minutes!!

Step 12- Time for the flower to Bloom! Uncrumble as many layers as you want slowly.The Glimmer mist should be dry but the flower will still be damp from the water.

Here's a side view of the the flower.

The flower is over an inch in height
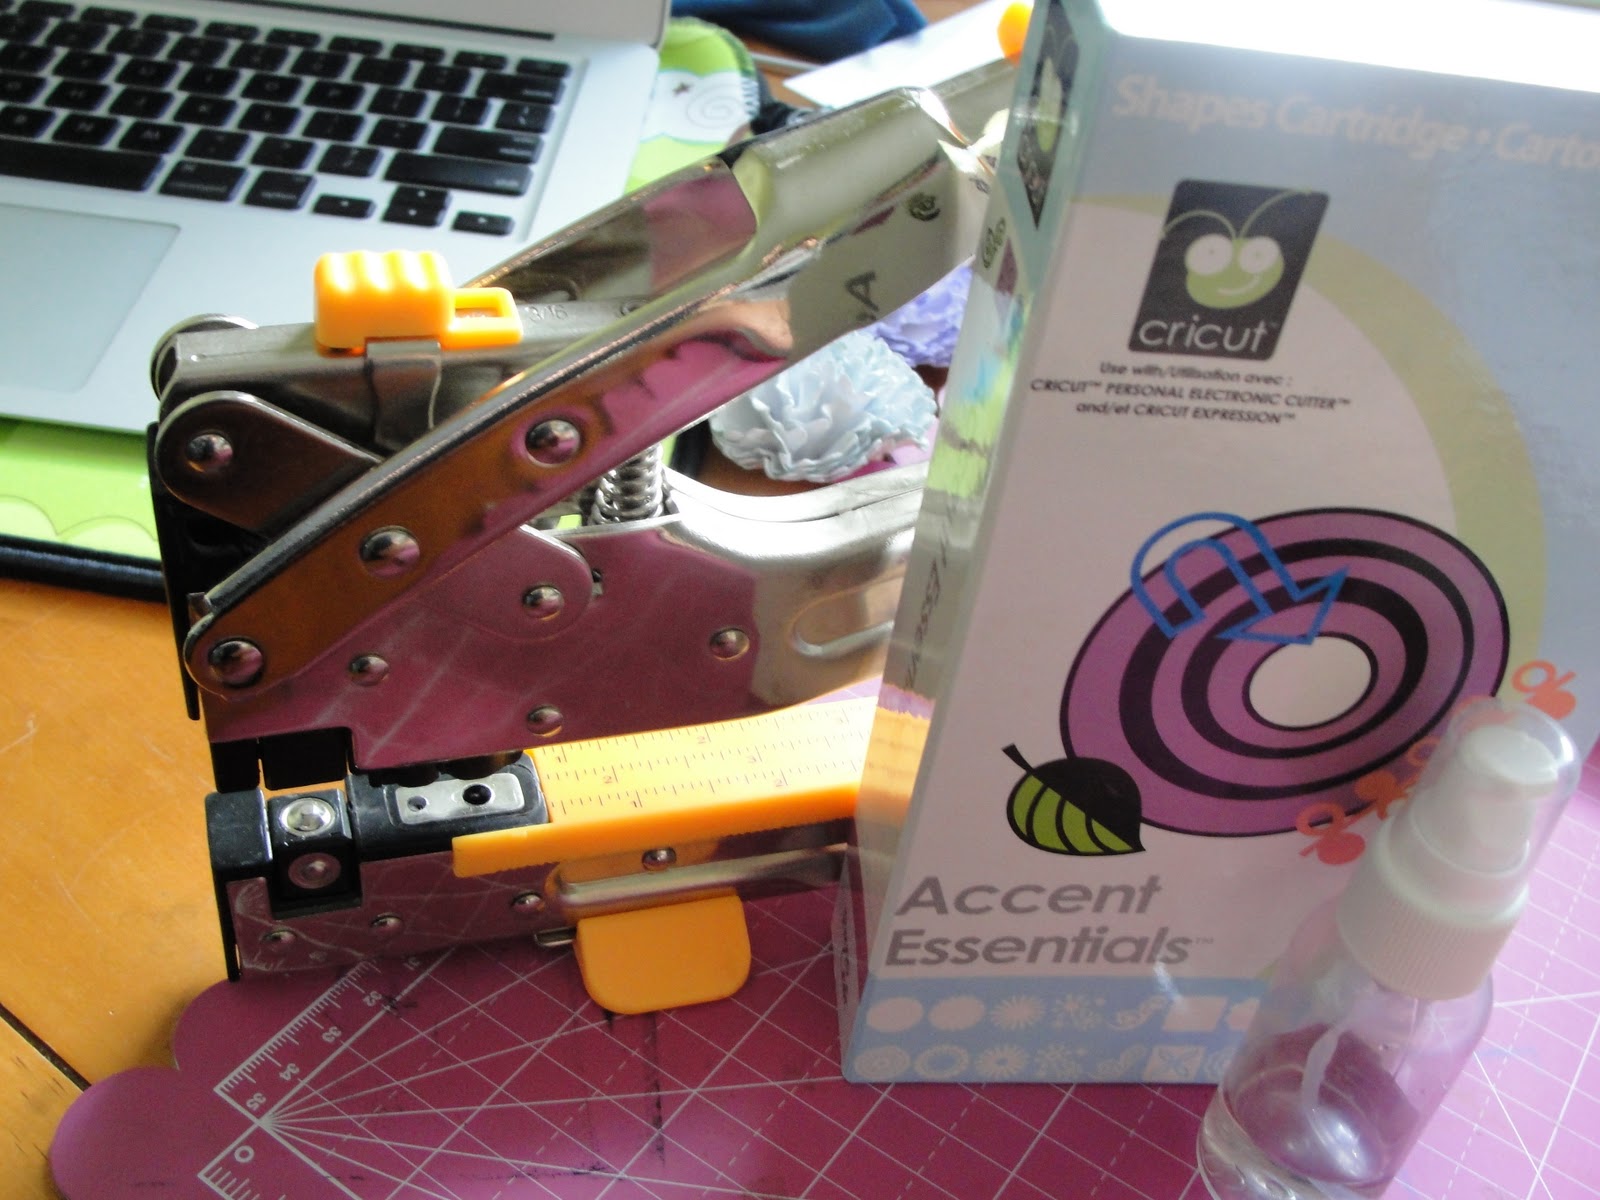
Products I used Crop A Dile, Accent Essentials, spray bottle of water

Glimmer Mist and Dew Drop inks. For the black & blue flowers I used Irredecient Gold, Pink flower Vanilla Breeze, purple flower Pearl, brown flower coffee shop, yellow flower Yellow Daisy Glimmer Mist.

I have been having so much fun making flowers and I promise to post more flower tutorials for you!
Be sure to stop by my blog tomorrow morning for the Cricut Imagine Blog Hop I am hosting called "Imagine That blog Hop"


Love the flower tutorial...thanks for sharing!
ReplyDeletejessica
chick-n-scrap.blogspot.com
Wow Sandra what a great Tuto ! I'll try someday soon ! LOL
ReplyDelete~Maria Elena~
http://mariaelenaworld.blogspot.com/
I love these! Wow I'm proud of you for finally using some more of your supplies! :)
ReplyDeleteLoveing it Sandra!!!!!!!!!!!!!!
ReplyDeleteGreat tutorial!!
(OMG, I just notice the pick of your son and was reminded of your burrito story!!! LOL)
Sandra, Thanks so much for the tutorial!!! I love seeing how I can make my own Beautiful flowers!!! Can't wait to try this one myself:)
ReplyDelete~Kim
Gracias amiga for awesome step by step tutorial!!! YOU rocked it!
ReplyDeleteGreat flower tute .. I love making flowers although I've used a lot of store bought this past year ..hope to change that since the hand made ones are so pretty!
ReplyDeleteThanks for the picture tutorial. I loved it. These are beautiful. Hugs- Glora
ReplyDeleteGreat tutorial. Will be trying that for sure.
ReplyDeleteThese are so pretty...thanks for the tutorial...I need some Glimmer Mist!
ReplyDelete~Sharon C.
Great flowers and tutorial! Thanks for sharing
ReplyDeleteJess :)
Oh wow thank you for the tutorial
ReplyDeleteperderg@q.com
These are amazing! Thank you so much for showing how you made them! I'm going to be trying these out!
ReplyDeleteLove this tutorial Sandra! I need more glimmer mists and these inks now :).
ReplyDelete